How to Make Beeswax Wraps: Save Money Now
If you're wondering how to make beeswax wraps, you are in the right place.
These simple DIY wraps turn ordinary cotton into reusable food wrap that replaces single-use plastic. Tired of cling film and sandwich bags? You're not alone. Many people want an easier way to cut waste and keep food fresh. Beeswax wraps are washable, breathable, and compostable when they wear out. Because they use natural beeswax, jojoba oil, and sometimes tree resin, they form a gentle seal without chemicals.
In this guide you will get step by step instructions, material lists, and tips for customizing size and pattern. Plus you will learn how to care for and refresh your wraps so they last months. Whether you are new to zero waste or already prefer eco friendly kitchen swaps, making your own wraps saves money and reduces plastic.
Friendly and practical, this tutorial focuses on safety, scent, and storage so your wraps work for fruit, cheese, and bowls. Read on to learn a simple craft that helps the planet and brightens your kitchen.
How to Make Beeswax Wraps: Materials Needed
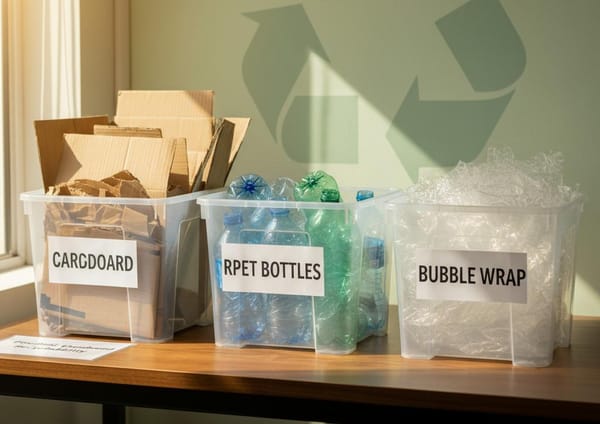
Before you start the project, gather everything you need. This list explains each material for DIY beeswax wraps and shows where to source items sustainably. These supplies make durable, eco friendly kitchen wraps that replace single use plastic.
- Cotton fabric
- Use 100 percent cotton in a medium weight such as quilting cotton or cotton sheets. Wash and dry fabric first so it is clean and lint free. Tip: buy fabric scraps or check thrift stores and remnant bins to reduce waste.
- Beeswax
- Choose food grade beeswax pellets or grated beeswax blocks. Beeswax gives wraps their water resistant finish and natural scent. Source locally from beekeepers when possible because that supports small producers and reduces shipping. For background on beeswax, see Wikipedia on Beeswax.
- Jojoba oil
- A few drops keep wraps flexible and prevent cracking. You can substitute a small amount of fractionated coconut oil, however jojoba lasts longer.
- Tree resin (optional)
- Pine or spruce resin adds tack and helps wraps cling. Use only if you want a stronger seal and test for scent sensitivity.
- Parchment paper or baking paper
- Use to protect your surface when melting wax in the oven or when ironing.
- Tools and extras
- Baking tray, oven or iron and ironing board, silicone pastry brush or small spoon, fabric scissors, ruler and templates. Keep a lint roller on hand to remove loose fibers.
Quick sourcing tips
- Buy beeswax and jojoba oil in bulk from reputable suppliers to cut packaging. Shop local markets for beeswax and use thrifted fabric to keep costs and impact low. For practical tips on switching from cling film, check this guide Beeswax Wrap Guide and for starter advice visit Reusable Beeswax Wrap Guide. Finally, if you are weighing beeswax wraps against plastic alternatives read Beeswax Wrap vs Plastic.
Step-by-step guide on how to make beeswax wraps
Making your own DIY beeswax wraps is simple and satisfying. Below is an easy numbered method you can follow at home to make eco-friendly kitchen wraps that replace single use plastic.
How to Make Beeswax Wraps: Step-by-step
- Prepare your workspace and fabric
- Wash and dry 100 percent cotton pieces. Cut into sizes you use most often: snack (7 x 8 inches), sandwich (10 x 11 inches), and bowl covers (12 x 14 inches).
- Remove lint with a lint roller. Because fabric shrinks, prewashing ensures accurate sizing.
- Preheat the oven (or set up an iron)
- For the oven method, preheat to 200°F to 250°F (95°C to 120°C). For the iron method, set the iron to a low cotton setting and use an ironing board with parchment paper.
- Choose a method you prefer; both make good DIY beeswax wraps.
- Lay fabric on a protected tray
- Place parchment paper on a baking tray. Lay one fabric piece flat on top.
- This keeps your tray clean and helps the wax distribute evenly.
- Add beeswax and jojoba oil
- Sprinkle grated beeswax or scatter pellets evenly over the fabric. Add 3 to 6 drops of jojoba oil per wrap to keep it flexible.
- If you use tree resin for extra tack, use very small amounts and test for scent sensitivity.
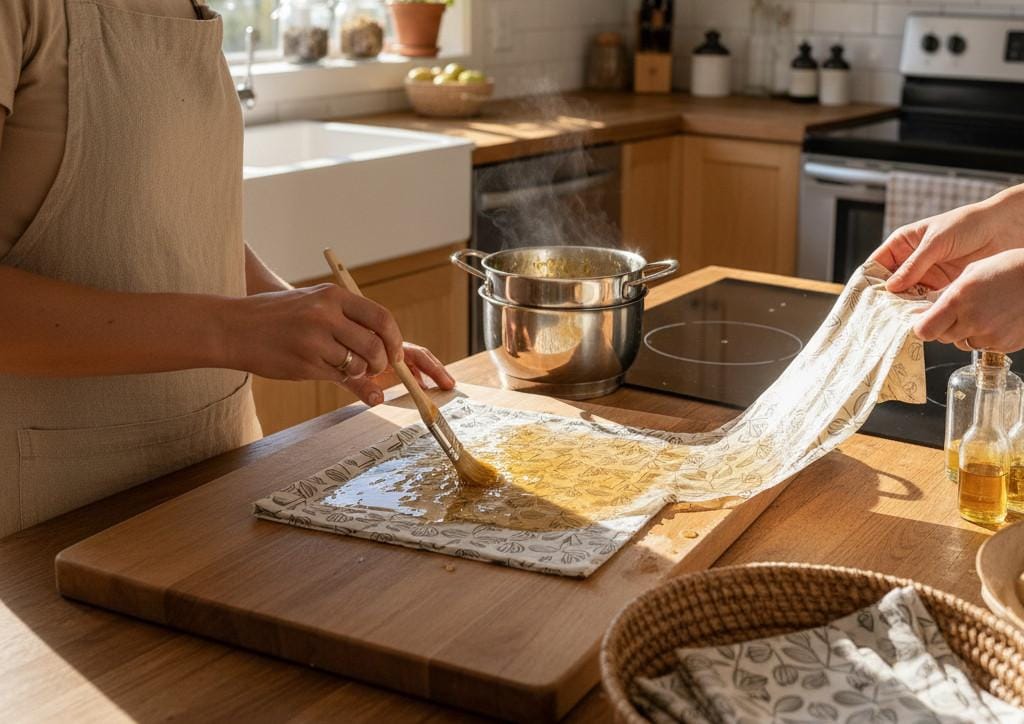
- Melt the wax
- Oven method: Put the tray in the oven for 3 to 6 minutes, watching closely. The wax should be fully melted and spreadable.
- Iron method: Place a sheet of parchment over the fabric and iron until the wax melts and spreads.
- Spread the wax evenly
- Use a silicone pastry brush or the back of a spoon to spread any unmelted wax so the fabric has an even coating.
- Work quickly because the wax begins to set as it cools.
- Cool and set the wrap
- Remove the tray and lift the fabric by the edges. Hang or lay flat to cool for a few minutes.
- The wrap will become slightly stiff and tacky as it sets.
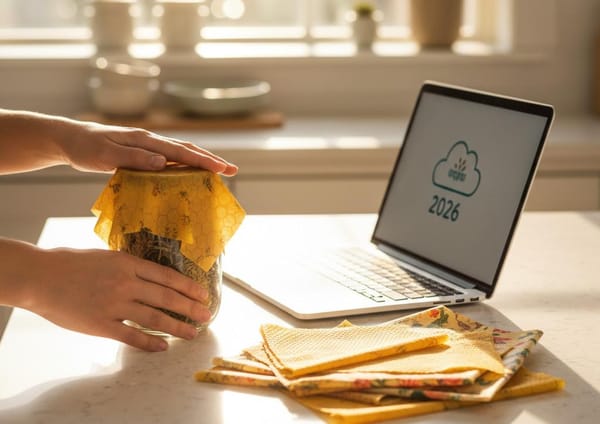
- Trim and store
- Trim jagged edges with fabric scissors. Store wraps flat or rolled in a drawer.
- Label sizes if you make many for quick use.
- Care and refresh
- To clean, wash wraps in cool water with mild soap and air dry. Avoid hot water and microwaving.
- When wraps lose tack or become dry, refresh by repeating steps 4 to 7 with a light touch of wax.
Safety precautions
- Work in a well ventilated space because melted wax can smell strong.
- Keep a watchful eye when heating wax; never leave the oven unattended.
- Use oven mitts and heatproof tools to avoid burns.
- Keep wax and resin away from children and pets.
Troubleshooting tips
- Patchy or stiff wraps: You used too much wax. Reheat and brush off some wax or add small drops of jojoba oil.
- Weak cling: Add a tiny amount of tree resin to increase tack, then test for scent.
- Sticky, soft wraps: You used too much oil or the wax mix was too warm. Reheat and add more beeswax.
- White bloom (powdery finish): This is natural crystalline beeswax bloom. Rub gently with a warm hand or iron briefly under parchment to restore finish.
Fabric choices and how they affect the wraps
- Quilting cotton: Holds bright prints and provides a firm, durable wrap. Good for bowls and sandwiches.
- Lightweight cotton (like sheets): Produces softer, more flexible wraps. Use for wrapping soft fruit or bread.
- Organic or unbleached cotton: Minimal dye means less risk of scent transfer and a more natural look for eco-friendly kitchen wraps.
- Patterned fabrics: Great for gifts or meal prep; however darker dyes may shed more initially, so wash well first.
Making DIY beeswax wraps is a small skill with big impact. With practice you will perfect the wax balance and produce beautiful, reusable wraps that cut single use plastic from your kitchen.
Quick comparison of environmental, health, and practical benefits for beeswax wraps versus plastic wrap
| Benefit Type | Beeswax Wraps | Plastic Wraps |
|---|---|---|
| Environmental |
|
|
| Health and food safety |
|
|
| Practical use and care |
|
|
| Cost and aesthetics |
|
|
| End of life |
|
|
CONCLUSION
Now that you know how to make beeswax wraps, you have a straightforward way to cut single-use plastic from your kitchen. This guide showed easy materials, step-by-step methods, safety tips, and refresh tricks so you can make lasting, eco-friendly kitchen wraps. Because the process uses simple ingredients like beeswax and jojoba oil and everyday cotton, it is inexpensive and creative.
Try a small batch first and then scale up. For example, make snack sized wraps for lunches and a few larger bowl covers for meal prep. Test different fabrics and small amounts of resin until you find the right balance of tack and flexibility. Over time you will learn how to refresh tired wraps and get the best life from each piece.
Take action today: clear a weekend hour, gather scraps, and make a set. Not only will you save money, but you will also reduce waste and enjoy a satisfying DIY project. Above all, remember that small changes add up. With each wrap you make, you help the planet and keep your kitchen colorful and practical.